| |
Here is the walnut "blank." It consists of eight walnut sections. Outer and Inner diameters have been turned to within 1/8" of final dimension. |
 |
I begin creating the shoulder to fit the tonering. |
 |
Flattening the leading edge. |
 |
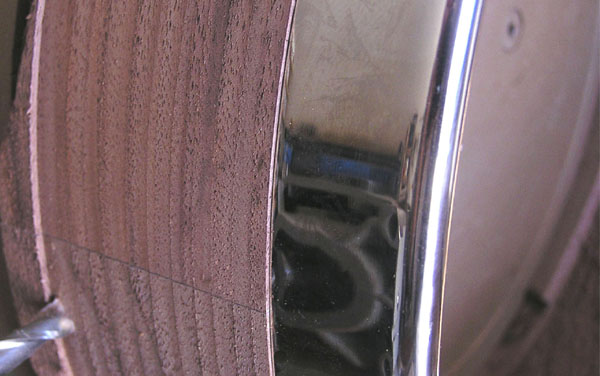
Checking the gap between the tone ring and the shoulder. |
 |
The tonering is fitting nicely for the diameter. Later I will trim the height to make sure it is seated properly. I now take a feeler guage to set the lathe to cut to within a few thousandths of final outer diameter. This is within "sanding range" of final dimension. |
 |
Turning to near final dimension. |
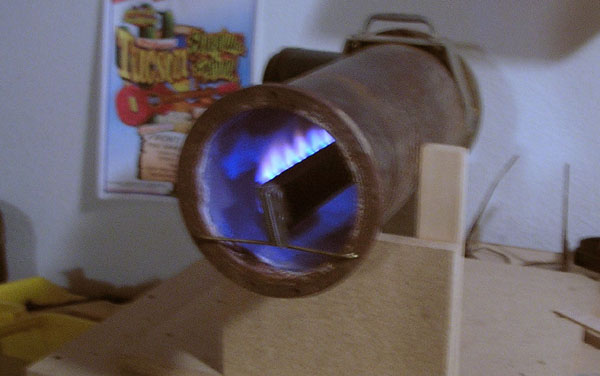 |
Time to fire up the bending iron so I can bend the maple for the bracket band. |
 |
Bending a curly maple strip with heat and moisture. |
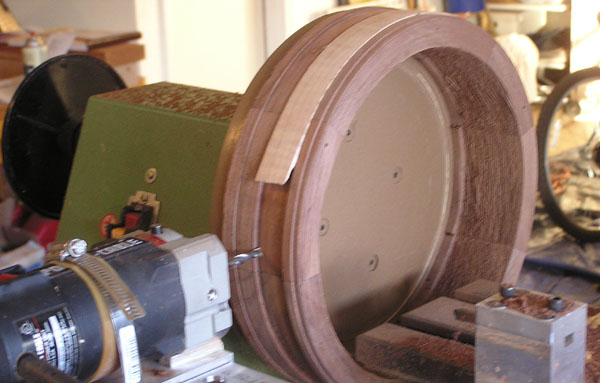 |
I rout a channel for the maple bracket band and check the fit. |
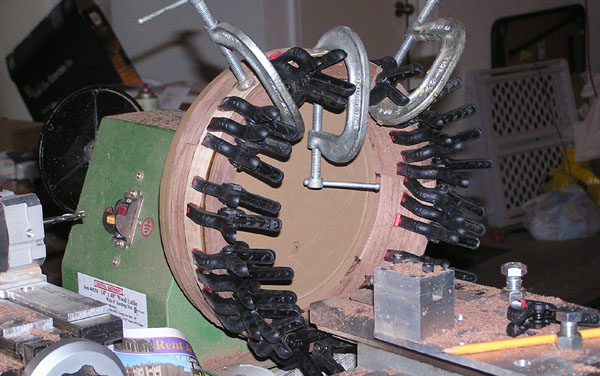 |
Clamping the maple bracket band. |
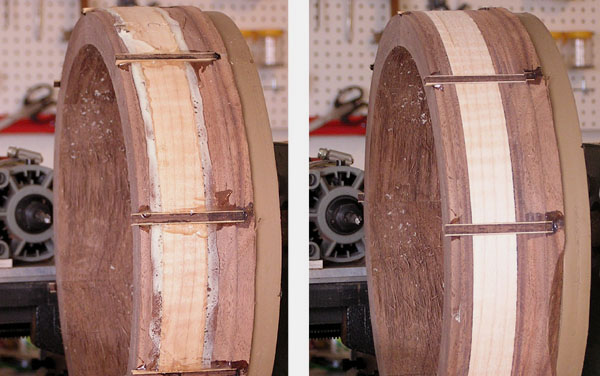 |
In between this picture and the previous, I have inlaid rosewood and maple vertical strips at the block joins. |
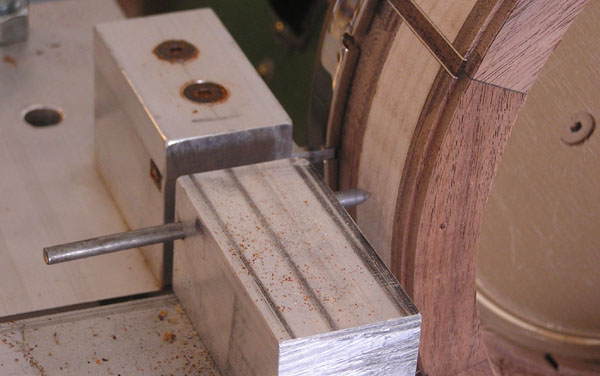 |
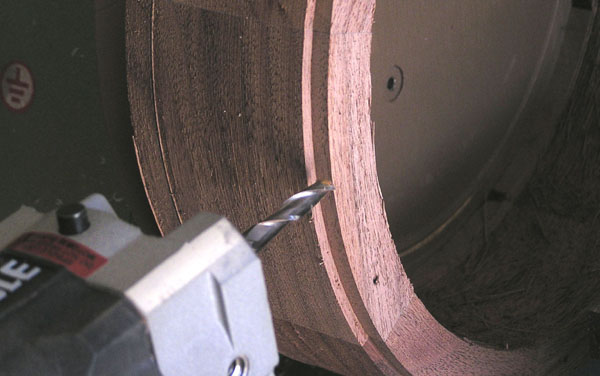
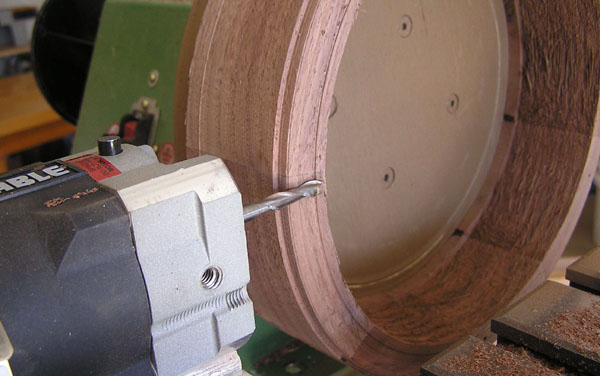
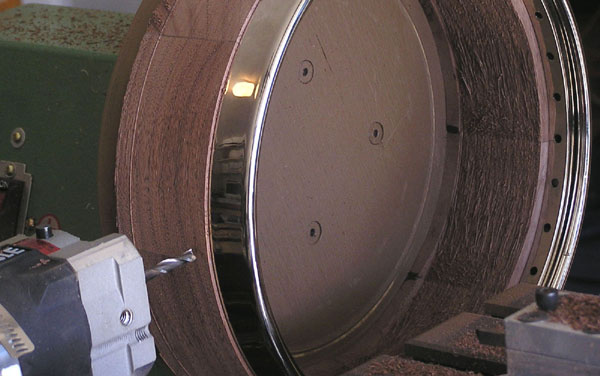
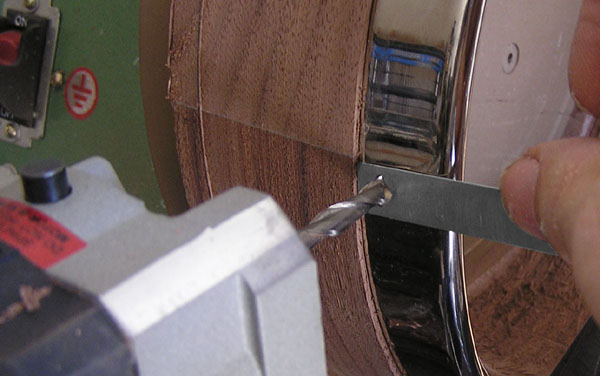
This is a registration jig and punch. I place the tension hoop at the bottom of the rim and use the notches to register the position of the bracket holes. The punch marks the spot. |
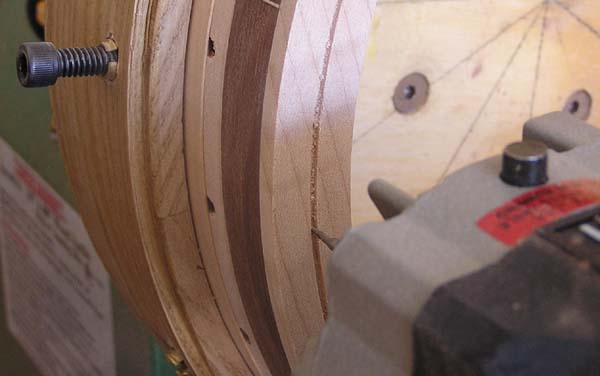 |
After drilling bracket holes, I capped the bottom of the rim in curly maple. Now I am cutting a channel for purlfling. |
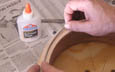 |
Fitting the purfling in the groove. I like Elmer's School glue because it is thin and dries transparent. |
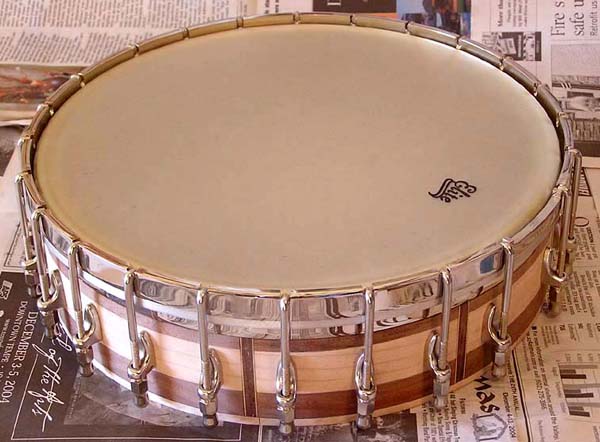 |
Hardware and head in place. Ready to sell. Top view. |
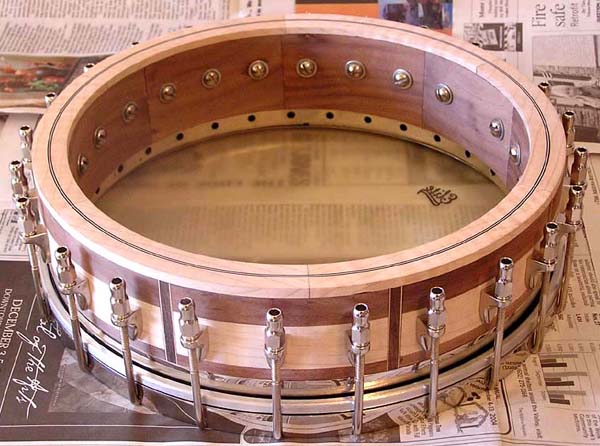 |
Bottom view. |
Walnut Rim with Decorative Splines and Purfling
25 Dec 2004