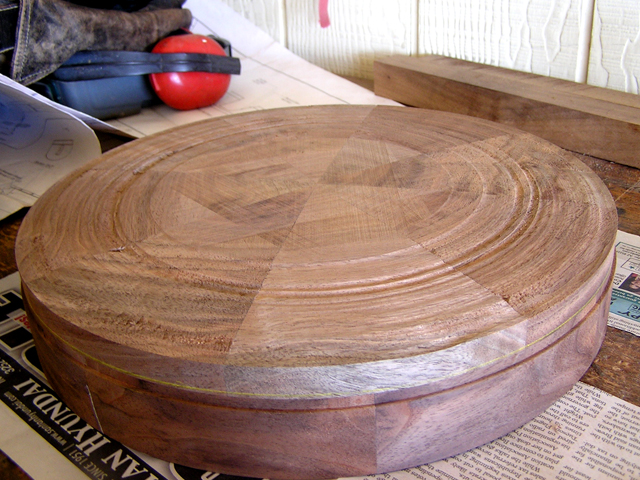
I have been very fortunate to have been able to assist Steve Cyr of Steve Cyr Custom Guitars in a couple of banjo projects. The latest is turning a solid-wood resonator from a blank Steve created from solid walnut. As you can see from the pictures, the joinery on his blank was superb.
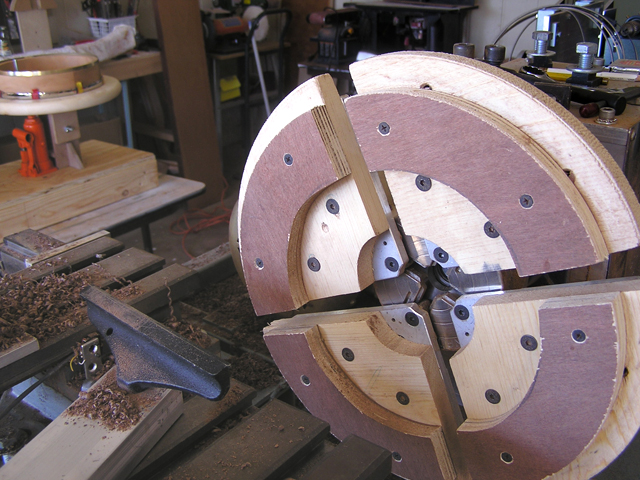
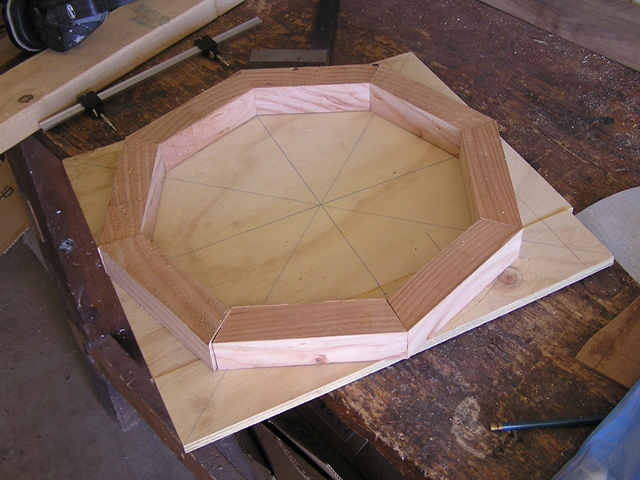
These are the jaws I used for the first phase.
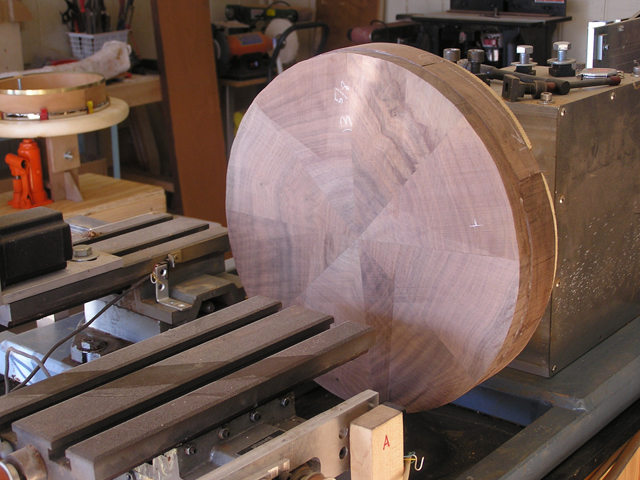
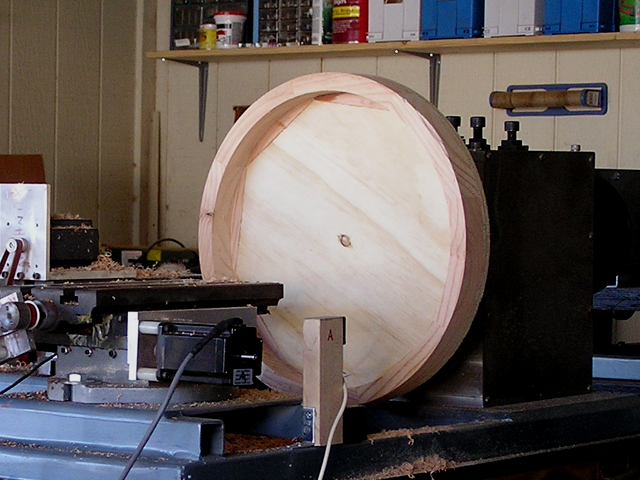
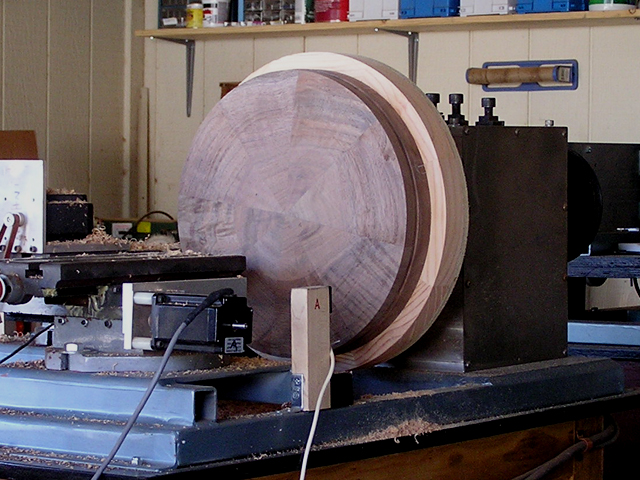
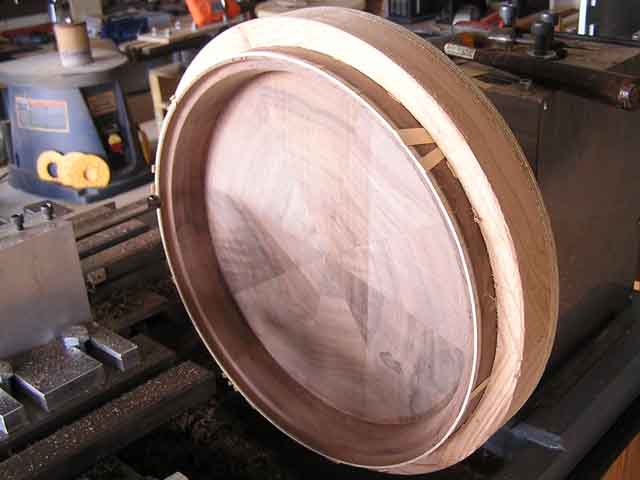
Tha blank nicely centered on the lathe from the front.
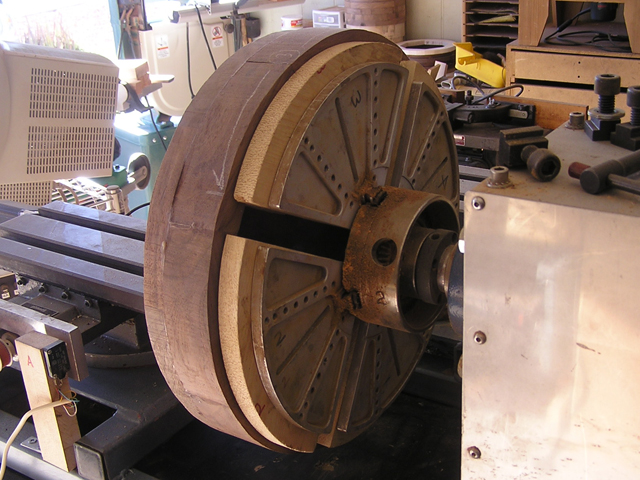
The blank from behind.
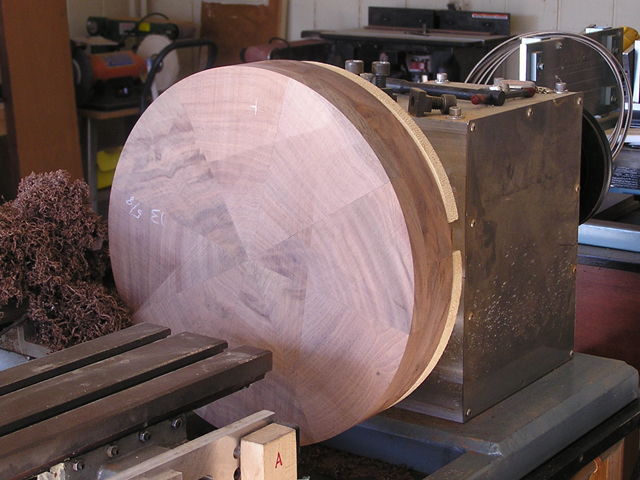
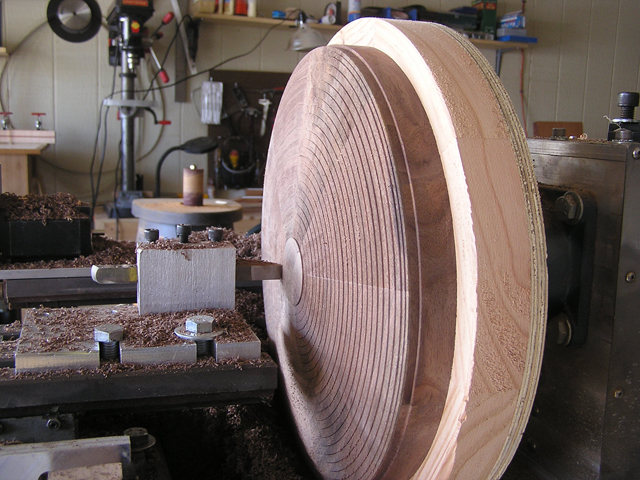
Outer diameter turned.
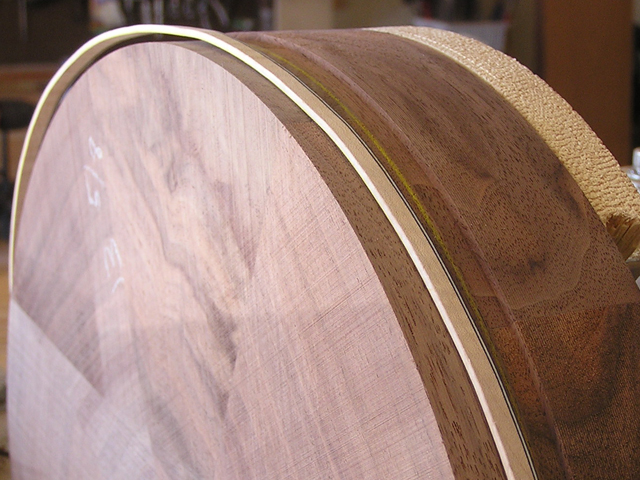
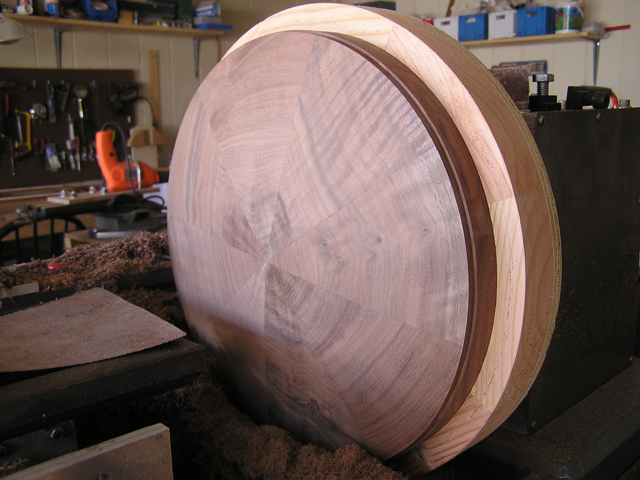
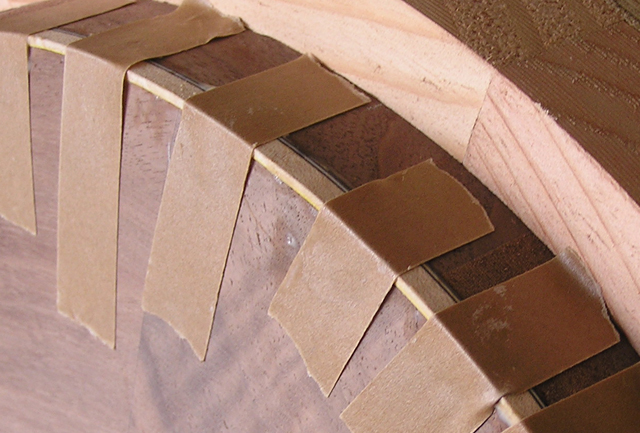
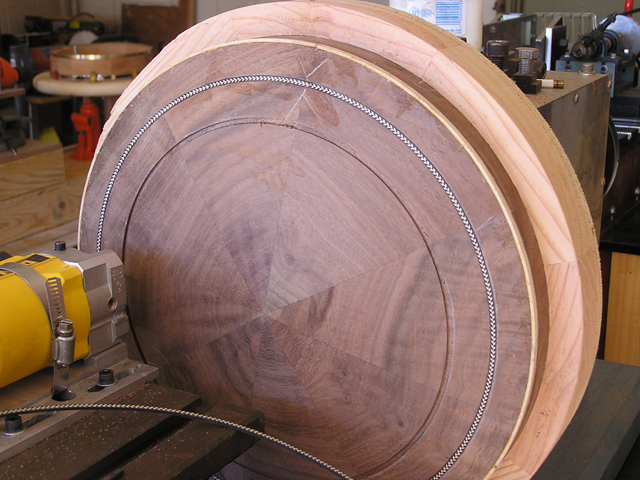
Channel for the bottom binding turned. I exerimented with taping down the binding at this point and realized I would need to turn the bottom radius before I can get the binding to lay down properly as the glue sets. The problem is that the tape needs to pull the binding down with a lot of force. Having the extra material below the bottom edge of the binding diverts thef the pulling force of the tape
I attempted to turn the bottom radius by hand with a wood-turning gouge supported by a tool rest. The jaw setup prooved to be insufficiently rigid and the vibrations caused the gouge to dig into the material and I could not control the depth of cut.
I began construction a collet. A collet can help in two ways. Firstly it overcomes the individual flex that I have in the four jaws by screwing them all into the same backing plate of the collet. Secondly I can be assured of concentricity because I can turn the collet's internal diameter to match the outer diameter of the resonator. I have my doubts that this collet will be rigid enough to complete the bottom radius, but I am pretty sure I can at least turn the inner diameter of the resonator. If I only accomplish that it will be worth it because then I will have two concentric reference points (i.e., the outer diameter and inner diameter) which opens up a variety of possibilities to finish the work. I suspect I may have to go to a friend's machine shop and use his large metal lathe for the back radius. I have some other ideas too.
The collet is finished.
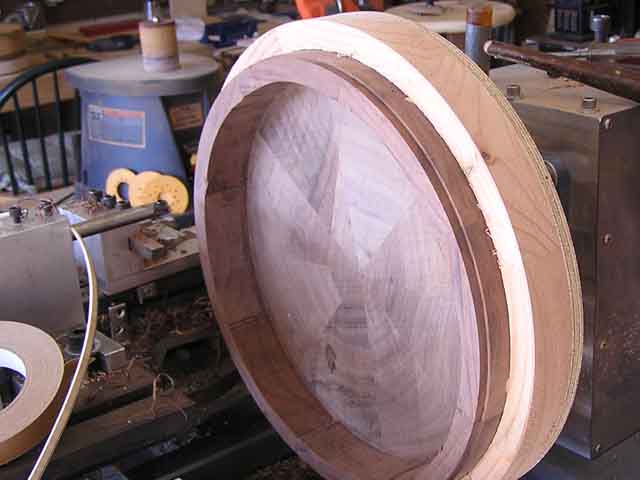
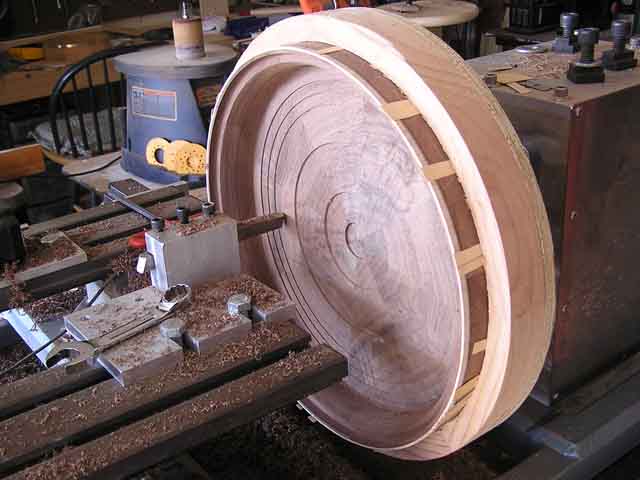
The resonator is in the collet ready for turning.
Turning stair steps. To get the dimensions for the stair steps I drew the curve in a CAD program. Each cut is .25" wide and the depth ranged from .04" to .01".
I smoothed the stair steps with scrapers and sandpaper.
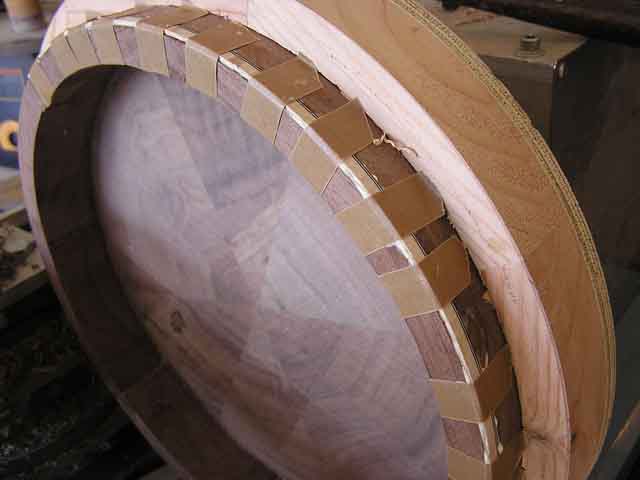
Adding wood binding.
Purfling channels cut.
Ready to scrape and sand.
Flipped it over in the collet and cut the top binding channel.
Gluing in top binding.
Finishing the inside shelf and tapered wall.
Roughing out the inner bottom radius.
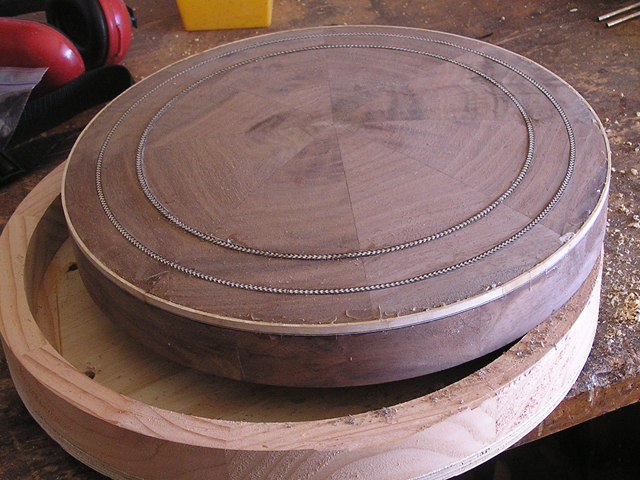
Taken off the lathe. Now I just need to do a lot of scraping and some sanding and ready to ship to Steve Cyr. Steve will have to do some final dimensioning of the inner bottom radius.
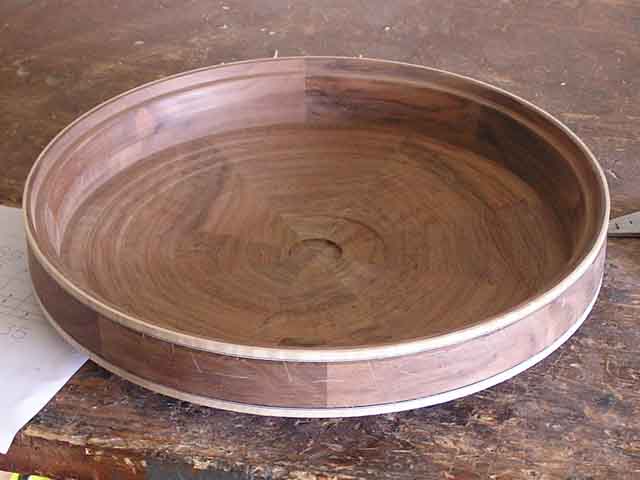
Definitely one of the most challenging turning projects I have ever attempted!
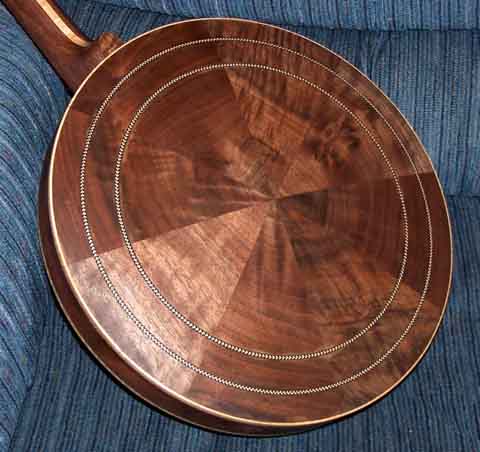
Photo sent by Steve after finishing.