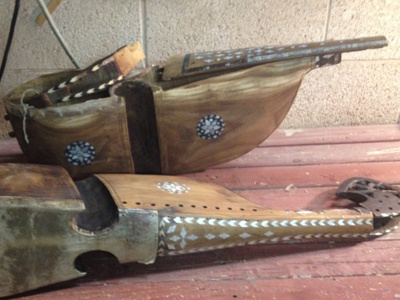
I had met Qais Essar at a local venue where he was performing. Qais is one of a handful of professional rabab players in the US. Recently I felt an interest in playing rabab, so I got back in touch with him. He brought me two instruments in need of repair.
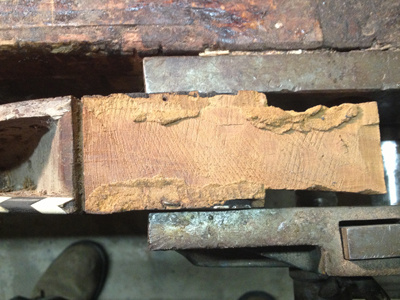
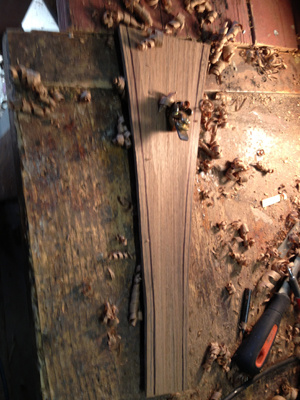
Qais gave me lots of suggestions about what to do on these instruments. One major decision was that we would abandon the original fingerboard. I went to the Woodworkers Source and walked the aisles looking for a color match to the mulberry from which the rebab is made. I selected "pecan negro" (not sure the of the actual species) and found a nice piece with straignt, tight grain.
![]()
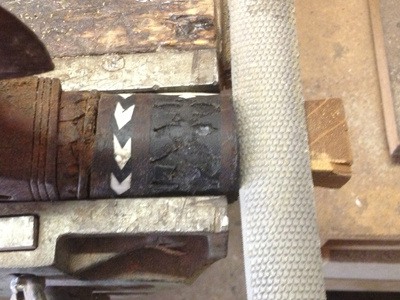
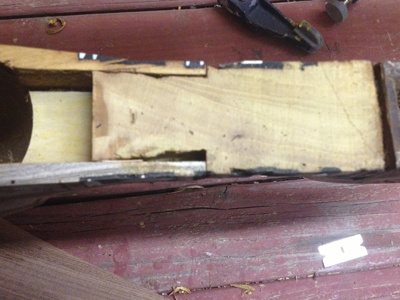
The first structural challent was to reattach the peghead portion of the neck. The channel that the peghead extension fits in was too deep. I could see that it had been held in place by nails that caused the neck to crack. These cracks had to be repaired. Some cracks were behind inlay work so that had to be removed first.
The cracks were flooded with cyano acrylic glue.
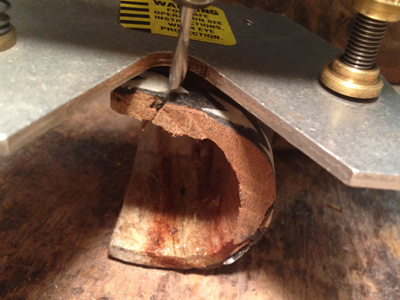


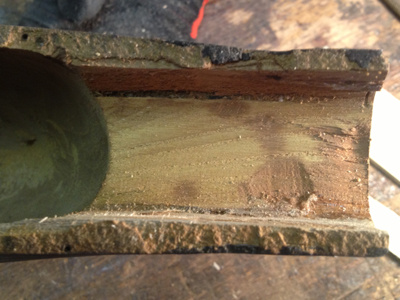
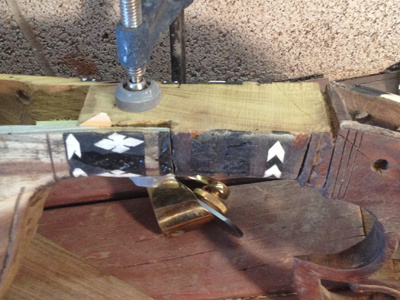
Next I had to create a better fit for the neck extension tenon. The picture on the left shows that the tenon on the neck extension falls below the line of the body. It should be flush. I decided to fabricate a spacer. The spacer would have to be flat on top and convex on the bottom to match the channel.
I used epoxy resin glue for its gap filling properties.
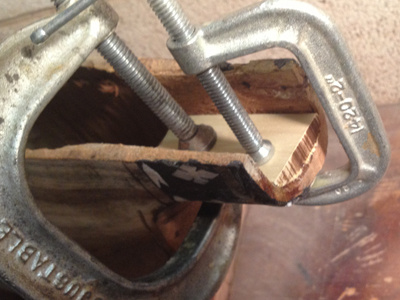
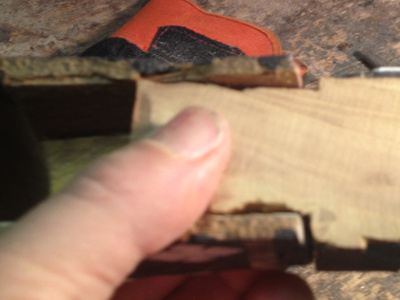
I flattened the bottom of the channel keeping the concave cross section. I fabricated a piece of poplar with a matching convex bottom. The top is flat to match the flat of the neck extension tenon.
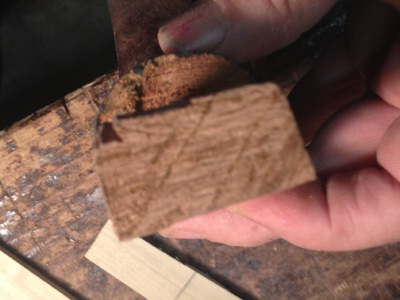
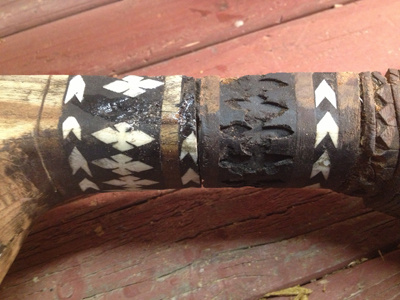
Notice that the tenon is not flat or parallel. Also the top of the tenon has a mixture of glue and sawdust.
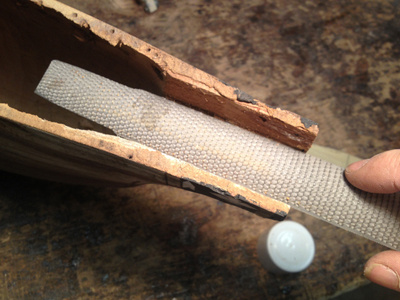
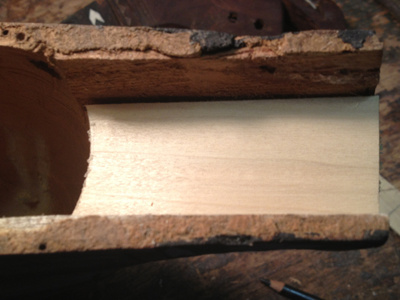
I used yellow glue to glue the neck extension tenon to the bottom of the newly flattened channel. Before I could glue the neck extension to the body, I had to flatten the area that will receive the fingerboard.
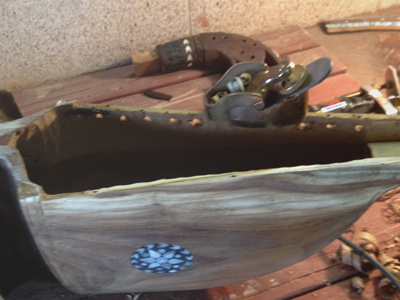
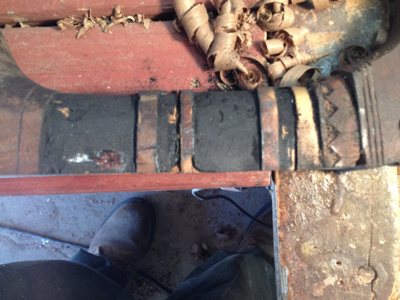
The end result looks pretty straight.

Qais asked me to redo the inlay at the back of the neck. First step is to remove the old inlay.
It makes sense to me to add the inlay after the fingerboard is on, so I began shaping and fitting the fingerboard.
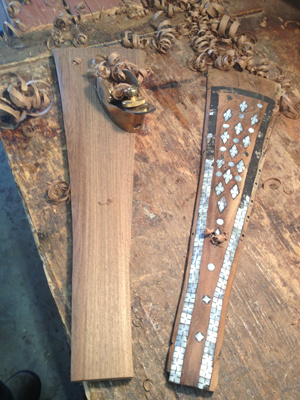
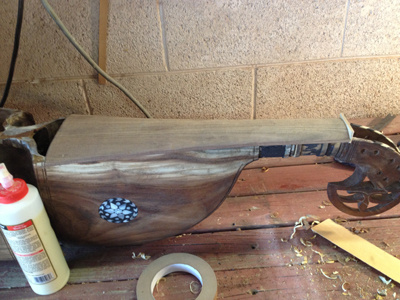
The fingerboard needs a lot of refinement before I can glue it on.